Since my last post there hasn't been much actual progress, but a few small steps have been made in the right direction. In my last post I'd sorted out how to mount the engine to the engine stand mount (officially it's called a yoke but I can't decide how to spell it... yoke, yolk?). However before the engine could be attached it was necessary to remove the flywheel. To do this it was necessary to use a four foot scaffold tube (thanks to Cathie and Bob) as a cheater bar and also use a similarly lengthed piece of angle iron bolted to the flywheel to prevent it rotating. Even with all that leverage it still took a lot of effort to get the gland nut to turn. A few minutes of flywheel jiggling later saw it successfully removed and added to the ever increasing "to be cleaned" pile.
The next task was attaching the mount/yoke/thingummy. This was simply a matter of bolting the arms on to the engine casing (using the washers I'd made earlier) and then tightening everything up. The stand came with four arms but I could only use three due to their length - this should be fine as it seems most people use a two armed doohickey (and in fact I'll drop to two when I need to split the case). Here's the result of all my work:
All I need now are a few helpers to lift the engine onto the stand.
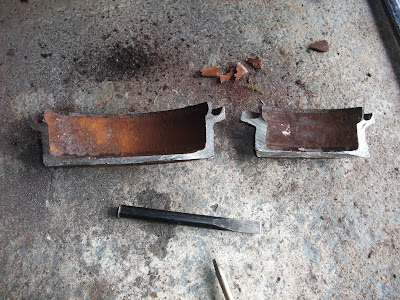
The other outstanding (no pun intended) task was to remove the seized wheel drum. Patience at an end I attacked it with my hack saw. After a couple of hours work I had excised two sections leaving me enough room to dismantle and remove the internals, i.e. brake cylinder, shoes, springs and spacers.
The internals have now been thoroughly soaked in WD-40 - though just attacking what's left with the hack saw is looking quite tempting.


No comments:
Post a Comment